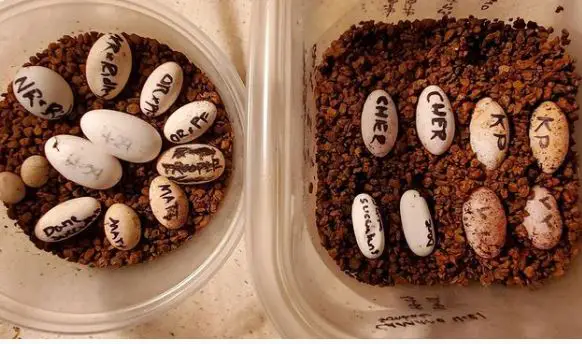
In this post, we will talk about how to make a homemade reptile incubator.
Do you love reptiles? Do you want to incubate your reptile eggs at home but don’t have the time or money to invest in a pricey, store-bought incubator?
Never fear! With this easy DIY tutorial, you’ll be on your way to hatching those precious eggs. So, how to make a homemade reptile incubator?
I will show you how I made my own reptile incubator out of a styrofoam cooler and an incandescent light bulb.
You can use any type of container that is large enough for the number of eggs that you plan to hatch, even a regular box.
Just make sure it’s insulated well with either styrofoam or bubble wrap insulation so that heat from the bulb doesn’t escape too quickly.
Related Posts:
- 7 Best Heat Lamps for Tortoise
- Top 7 Best UVB Bulbs for a Sulcata Tortoise
- Best Heat Mats for Leopard Gecko
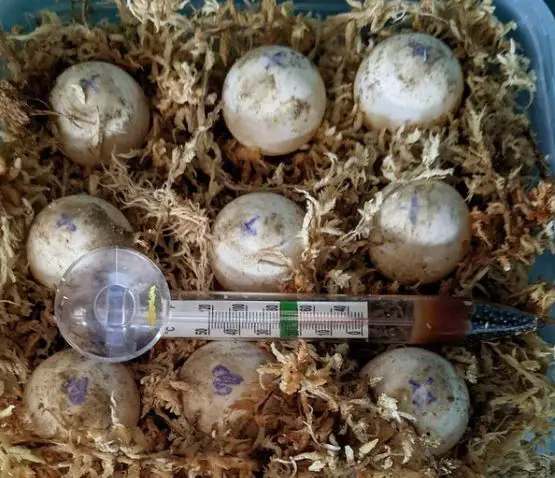
How to Make a Homemade Reptile Incubator?
It’s not that hard to make an inexpensive model basking spot/reptile incubator at home.
It can cost you about $25-$35 if you don’t have the materials at home. This is a good idea for people who live in places where summers are too hot to keep their reptile eggs warm inside the house/room.
Materials:
- Styrofoam cooler or ice chest. It should be big enough to put your aquarium inside. You can use a box but it must be durable enough and make sure it’s insulated well with either styrofoam or bubble wrap insulation.
- One light bulb (this is for heating, but if you need a basking light, get another type of bulb). I used a 60-watt incandescent light. A 100-watt spot lamp would be better, but it’s too hot and can burn your reptiles or eggs. You can use a lower wattage, but it might take a bit longer to heat the area, and you will have to check on your eggs regularly.
- Reptile thermometer (this is very important so that you can monitor the temperature inside of the cooler).
- 2 pieces of wire or rope about 6 feet long.
- 1 piece of plywood cut to the size of the cooler (you can get this at Home Depot or some other hardware store).
- Tape or glue.
You will also need your aquarium inside the cooler/ice chest.
Instructions:
1. Take off the lid of the cooler and hinge it on one side so that it will stay open.
2. You can glue the aquarium into place, or you can just set it inside the ice chest and tie it down with wire or rope (you don’t want your reptile eggs rolling around in their tank during transportation). Make sure that the top of the aquarium is level with the top edge of the cooler.
3. Cut a hole in the side of the cooler above where your aquarium is to run the wire through. Make sure that you leave enough room for another small hole on top of the ice chest that will go over the light socket.
4. Attach a piece of plywood across the bottom front or back end to keep heat from escaping and also give the aquarium more support.
5. Run your wire through the hole and place it across the top of the ice chest. Tie a knot on either end so that you can hang your light socket over the wire (don’t make it too high or too low). You can attach both ends of the wire with tape.
6. Drill a hole in the top of the ice chest for your thermometer.
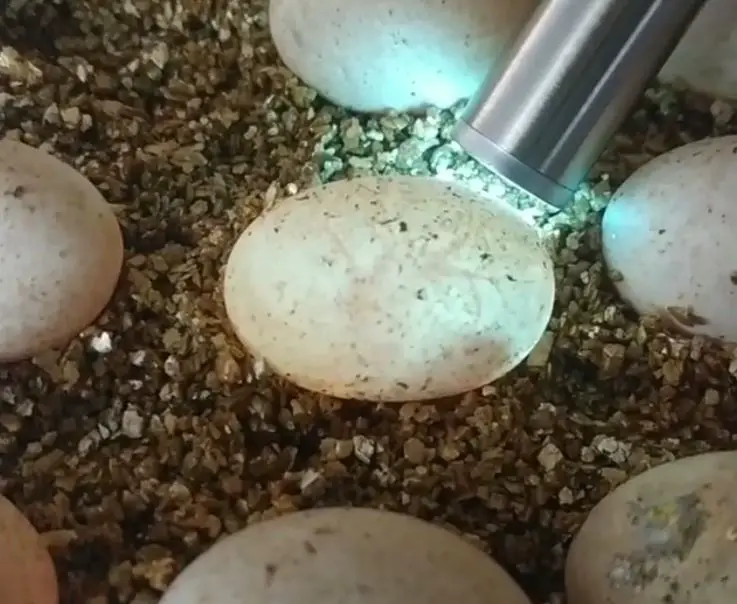
7. You can use tape or glue to attach your thermometer to the outside of the cooler opposite from where you have it hanging. Now, fill up your cooler with water and place it inside its lid.
8. Plug in your light and turn it on. You should be able to monitor the temperature inside of your cooler easily with your thermometer and adjust the bulb as needed (don’t forget that you will also have a heat lamp in there).
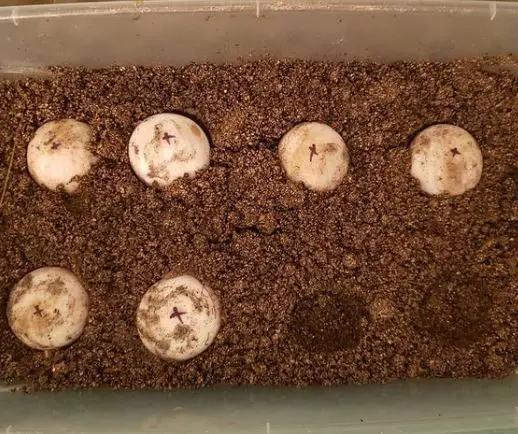
9. Place eggs inside the aquarium, cover them up, and place them inside of the cooler/incubator.
10. Make sure that the lid is completely closed and you should have a nice warm incubator for your reptile eggs. You can control the temperature as needed by adjusting the height of the light, etc.
11. Here’s a trick that I used to keep my refrigerator from constantly kicking on and off during hot summer months: Take a piece of plywood the same size as the bottom of your cooler (mine is about 24″ by 19″) and cut a hole in it for the light socket. Put the lid on the ice chest like you normally would, but do not put any water inside.
The heat from the light bulb will keep your reptile eggs warm enough to hatch during the hot summer months (you will need a small shelf or some other spot to place your cooler on so that you can place the light underneath it properly).
You might have to turn the light off at night so that the temperature cools down enough for you to open the lid and check on your eggs.
12. The light bulb doesn’t get hot enough to fry your reptile eggs and the only cost is electricity.
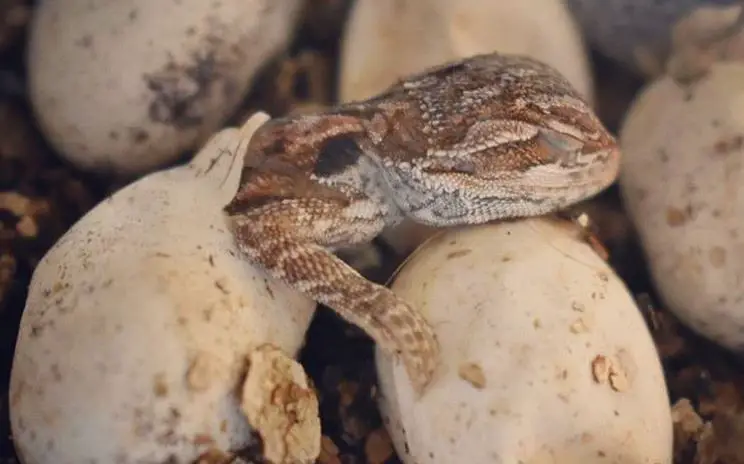
13. I’ve hatched more than 100 of my bearded dragon eggs in this just last summer and they all had very little problems with hatchling deformities (although some did get them).
14. This incubator will also work just fine for tortoise species of all kinds, aquatic turtle species, and any other reptile eggs that you might have.
15. The only drawback with this system is that your eggs will hatch in the cooler/incubator instead of where they were laid.
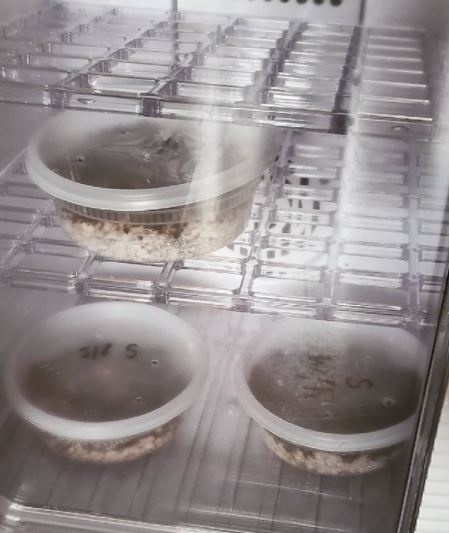
16. If you’re incubating reptile eggs for someone else, then it wouldn’t be a problem. But if you’re incubating eggs from your own reptile collection, then it might be a drawback (although very easy to accommodate).
17. You can place your cooler inside another larger box and cut a hole in the side for the aquarium. This will make it look more like an ‘oven’ and give you room around the tank for your other tools.
18. This is a much better way to incubate reptile eggs than using the Styrofoam incubator that everyone has seen on TV. So try it out and see what you think!
19. Be careful when removing the cooler/incubator from your vehicle since it will be filled with hot water (use your hand to remove the lid first and feel how warm the water is).
20. You can also use this incubator to raise baby turtles or other small reptiles. Just make sure that you don’t put too many eggs inside of the cooler/incubator at one time (no more than four different species of eggs inside of the cooler/incubator at a time).
This is a very inexpensive incubator and will not cost you much to make. Remember that you’re trying to keep your reptile eggs warm, not cold. Just find a temperature that works best for you and then adjust from there (monitoring your eggs closely will help a lot).
Conclusion
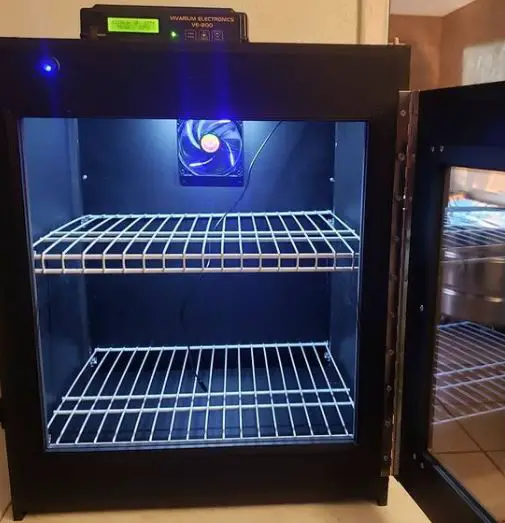
The best way to incubate the eggs is by using a homemade reptile incubator.
There are many different designs that incorporate varying methods of heating and cooling, but most homemade reptile egg incubators will have at least one heat source, either with an incandescent bulb or an electric coil heater.
I hope this guide on how to make a homemade reptile incubator helped!
Key points to remember when making a homemade reptile incubator:
If you’re a reptile enthusiast and want to breed your reptiles or help with incubating reptile eggs, a homemade reptile incubator can be a cost-effective and rewarding solution. Here’s a step-by-step guide to building your own reptile incubator:
Materials and Tools:
- A plastic container with a tight-fitting lid (size depends on your needs)
- An adjustable heating element (e.g., heat tape or heat cable)
- A temperature controller with a digital display
- A hygrometer to measure humidity
- Thermometer for temperature monitoring
- Insulation material (e.g., foam board or styrofoam)
- Ventilation holes (screen or drilled holes)
- Substrate (e.g., perlite, vermiculite, or hatchrite)
- Water container for humidity control
- Egg containers or deli cups
- Drill, saw, or cutting tools
- Silicone sealant
Building Steps:
- Container Selection:
- Choose a plastic container with a secure-fitting lid. The size depends on the number of eggs you plan to incubate.
- Cutting and Insulation:
- Cut an opening in the container lid for ventilation. Attach a piece of insulation to the inside of the lid to help regulate temperature.
- Heating Element Installation:
- Attach the heating element (heat tape or cable) to the inside of the container, creating a snake-like pattern. Secure it with silicone adhesive.
- Thermostat Setup:
- Connect the thermostat to the heating element. Place the temperature probe inside the container and set the desired incubation temperature. The thermostat will control the heating element.
- Humidity Control:
- Place a water container with a sponge or paper towel inside the incubator to maintain humidity. Ensure it doesn’t touch the eggs to prevent mold or bacterial growth.
- Ventilation:
- Create ventilation holes on the sides or top of the container to allow fresh air exchange. Cover the holes with screen or mesh to prevent pests from entering.
- Egg Containers:
- Place your reptile eggs in egg containers or deli cups filled with the chosen incubation substrate (e.g., perlite or vermiculite).
- Temperature and Humidity Monitoring:
- Install a thermometer and hygrometer inside the incubator to continuously monitor temperature and humidity levels.
- Test Run:
- Before introducing your reptile eggs, perform a test run to ensure the incubator maintains the desired temperature and humidity. Adjust the thermostat if needed.
- Egg Placement:
- Place your reptile eggs in the incubator containers, ensuring they are not touching and are positioned securely.
- Sealing and Final Setup:
- Securely seal the container lid to maintain a stable environment. Place the incubator in a quiet, undisturbed location.
- Regular Monitoring:
- Keep a close eye on temperature and humidity levels, making adjustments as necessary. Record data to track incubation progress.
- Incubation Period:
- The length of the incubation period varies by species. Research the specific requirements for the reptile species you are breeding.
- Safety Precautions:
- Ensure the incubator is free from any potential hazards, and avoid opening it unnecessarily to prevent temperature and humidity fluctuations.
By following these steps, you can create a functional and reliable homemade reptile incubator to successfully hatch reptile eggs. It’s essential to research the specific needs of your reptile species and regularly monitor and maintain the incubator to ensure a successful breeding and hatching process.
Further Reading:
- 7 Best Lighting for Chameleons
- 9 Best Heat Lamps for Bearded Dragon
- 5 Best Bearded Dragon Lighting Setups
- Best UVB Bulbs for Sulcata Tortoise
- Best Incubator for Bearded Dragon Eggs

