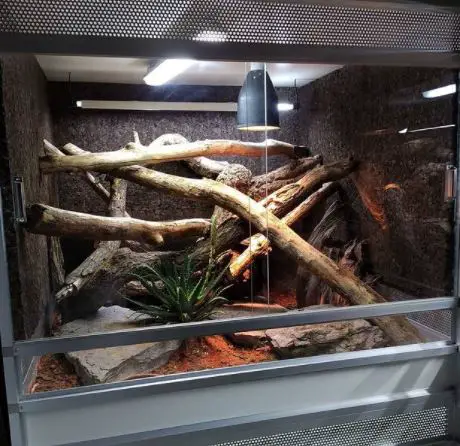
So, why should you know how to turn an aquarium into a reptile terrarium?
What better way to keep your reptiles happy than with a terrarium that resembles their natural habitat, right?
A terrarium is an enclosure that simulates the environment of your reptile. It can be housed in any type of container, but it must have some features for climbing and hiding.
This article will give you step-by-step instructions on how to create a terrarium as one would find in nature. So, how to turn an aquarium into a reptile terrarium?
Related Posts:
- 7 Best Heat Lamps for Tortoise
- Top 7 Best UVB Bulbs for a Sulcata Tortoise
- Best Plants for Bearded Dragons You Should Know
- Best Plants for Turtle Tank
How to Turn an Aquarium Into a Reptile Terrarium?
Let us talk about how to turn an aquarium into a reptile terrarium.
You’re about to get started with reptile care but you don’t have an extra room for a new terrarium or vivarium. You also don’t want to spend money on a pre-fabricated reptile cage when all you have is your old aquarium.
Here are some ideas on how to turn your aquarium into a decent vivarium for your reptile.
First, you need to determine the size of the vivarium you want to build from your old aquarium. Since most tanks are about 20 inches high and 30 to 40 gallons in volume, a good start is a 20-gallon long tank (18×30 inches).
I would not recommend going with anything smaller than this.
Once you have determined the desired tank size, you need to decide on your vivarium decor. You can choose from many different substrates, rocks, and mosses, but I recommend using one of these two options:
- Dried sphagnum peat moss with coco husk chips on the bottom
- Coconut husk substrate with sphagnum peat moss on top (not recommended for humidity-loving species)
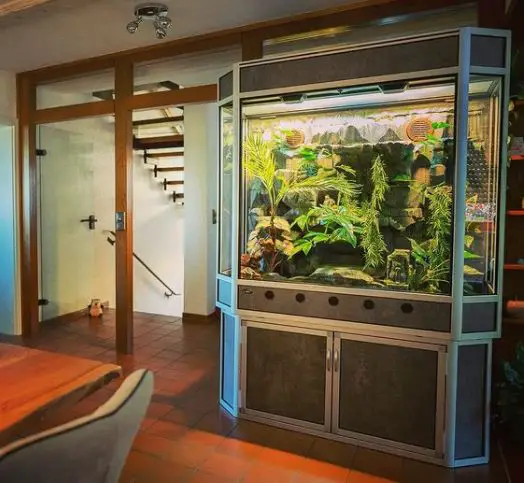
I would not recommend using gravel, bark, sand, or any other loose substrate in this setup. Your reptile could easily ingest any of these substrates while eating and get sick or even die.
I used coco husk chips on the bottom and sphagnum peat moss on top, but I also covered all sides (including the back) with pieces of cork bark to make it more interesting for my reptile.
You can use any type of rocks or driftwood and any type of live plants (real or fake) you like.
Next, you need to cover all openings in your aquarium. This will prevent the substrate from getting into the bottom of your tank, and it will also create a safer environment for your reptile.
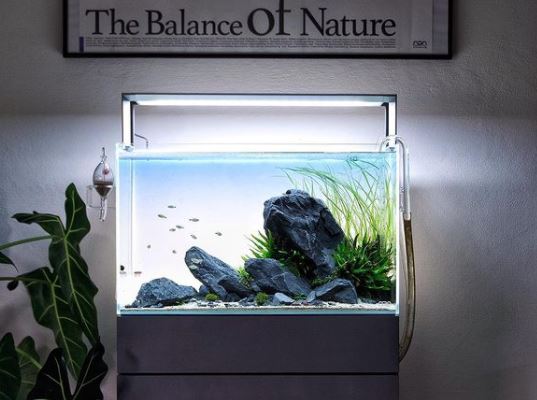
Once you’re done with that, fill the bottom of your terrarium with the chosen substrate. You can always add or remove some substrate later.
You only need to make sure that there are no openings (like electrical wires) in your aquarium’s bottom before filling it with the substrate.
If you like, you can also add two layers of the screen on top of each other for extra insulation and security. This will also prevent your reptile from escaping through the top of the tank.
Next, you need to find a good hiding spot for your reptile and some branches or rocks for extra climbing space. You can either use artificial plants, rocks, or driftwood to decorate the tank or you can use real plants if you have an additional lighting system for them.
I personally use both real and artificial plants in every one of my vivariums.
I always cover the back of the tank with cork bark, but this is optional. You can also use pieces of small logs or real/fake plants to decorate the sides of the tank so that your reptile has more stuff to climb on.
If you want, you can cut some larger holes in the screen at both ends for extra climbing space. I personally don’t use that many climbing elements, but your reptile might appreciate it if you do.
I recommend using a light bulb or ceramic heat emitter to provide the basking spot and a separate UVB source for your reptile (please see our lighting articles). Using both sources will prevent your reptile from getting too much heat or light.
If you provide one basking spot, your reptile will have to choose between heating up properly and being able to see everything in the tank without being bothered by the light source. This is why I recommend using two separate sources of heat/light for optimal care.
Here are some examples of lighting systems that are safe to use with vivariums:
You can also use a ceramic heat emitter or a light bulb mounted on top of the lid if you provide only one basking spot.
If your light is mounted over the screen, I recommend removing some of it so that you have more control over how much heat your reptile is receiving.
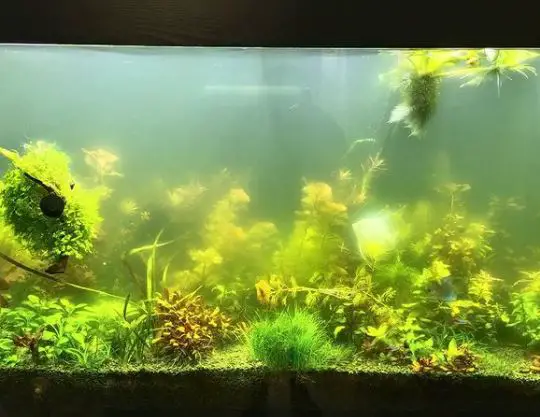
How to Turn a Fish Tank Into a Garden?
Now that you know how you can turn an aquarium into a reptile terrarium, let us talk about how you can turn a fish tank into a garden!
I’m not talking about the tiny aquaponics system that you keep at home but the one that’s made of a 5-gallon bucket and some netting to hold the plants together.
I’m also not talking about just throwing some seeds in there, because it will just grow algae! Aquaponics is great, but I wanted something different.
My name is Thomas, and this is how I built my self-sustaining gardening system.
It all started with a 10-gallon fish tank. I took the plant filter out of it and replaced it with a 600w grow light from Home Depot, more about that later.
Then, instead of keeping fish in there, I put dirt and a garden hose. It’s a great way to have a small garden that you can move around and expand or contract as needed.
Let’s get into the details of how I did it, then we’ll talk about what to do from here.
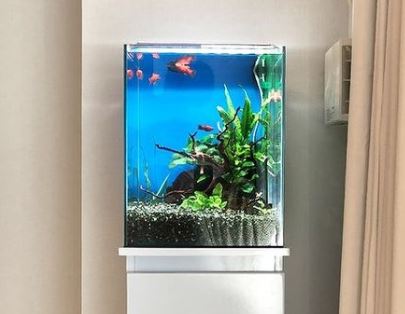
1. Take Your Fish Tank, Gravel, and Water Out of the Cabinet
Yank out the plant filter and replace it with a grow light. If you’re anything like me, your fish tank has been in storage for months and years.
The water is probably disgusting at this point. I recommend draining the water into bottles for future use (see step 2) or just add new to start fresh (if you have a 10-gallon tank, the water is not too dirty).
2. Drain Your Fish Tank Into 5-gallon Jugs of Water
Now, they’re ready for new fish when I get around to it, or emergency drinking water in case of disaster.
3. Drill Some Holes Through the Bottom of Your Tank
Drill some holes through the bottom of your tank that line up with the drain holes at the very bottom. I used 1/2″ holes, but you should probably use 3/4″ or even 1″. The bigger the better.
4. Cut a Hole in the Side of Your Tank for the Garden Hose Tube
Now that your tank has all its holes, cut a hole in the side of your tank for your garden hose tube to exit.
This will need to be about 4 to 6 inches above the height of your gravel. It will flood if it’s too close, but too far away and the water won’t get there fast enough to be effective.
5. Put the Tank on a High, Stable Surface
You might notice that this makes your tank very unstable on the floor.
To fix this problem, I use some scrap wood to raise up my tank off the ground so it can sit safely on its side.
6. Have the Tube Come Out of the Side of the Tank
You should have a tube coming out of the side of your tank, down to about 4 to 6 inches above the bottom.
That’s where your gravel is going to go, and all the dirt that you’re going to use for this project.
The way it works is that water comes in from the garden hose, goes through the bottom of your tank, and out into your gravel.
The soil in there is going to be constantly flooded with water from below, but it’s also going to get a ton of light for growing plants.
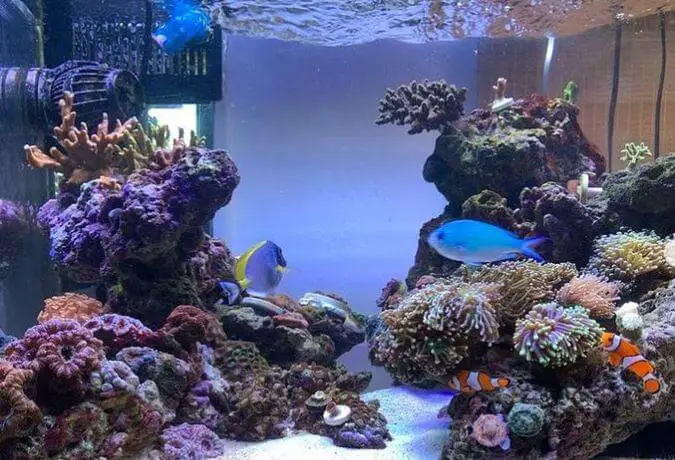
7. Choose What Kind of Dirt to Use
You have a choice to make about what kind of dirt to use.
I went with a soilless mix specifically made for hydroponics, but there are lots of options.
If you go with the soilless mix, the downside is you’ll need to make sure everything is pretty dry before using it. Otherwise, it gets moldy fast (which ended up happening to me). The other option is buying soil from a gardening store like Lowes or Home Depot.
You’ll need a big bag of this, and it might be a little dirtier than the soilless mix, which is better for your plants anyways.
I’ve heard that perlite works well as a cheap alternative to the hydroponic stuff.
8. Add the Dirt Inside Your Tank
Add your dirt inside your tank. I recommend at least an inch.
The soilless mix we used was very light and we added a lot more than an inch.
9. Fill Up Your Tank With Water
You can go ahead and fill your tank with water from the source. I recommend using room-temperature water because cold water will slow down the growth of your plants.
10. Add Fertilizer If You Want
Don’t use any chemicals or fertilizer in your water because you will be constantly changing it out to keep the system clean.
You can add fertilizer with your dirt, but don’t go overboard, or else, you’ll have too many nutrients and that’s just not good for your plants.
11. Add the Plants to the Dirt
You can add your plants to the dirt and start them growing.
You’ll want to do this at least a week before you need them so that they have time to grow roots. I went with Swiss Chard just because it was cheap, but you could do this for any vegetable or flower really.
Now, all you have to do is wait until everything’s grown and ready to go!
This takes longer than soil growing because the water has to filter through the dirt at a nice rate where it doesn’t make it too wet or dry.
If you’re in a rush, just add some dirt amendments to the water like nuts and fertilizer to get your plants in an appropriate time frame.
12. Harvest Your Veggies!
You can lift up the tube that sticks out of your tank and then just start pulling things out with it.
This was actually the hardest part of the whole project because I didn’t drill holes in all sides, so it was hard to get Swiss Chard out without ripping its roots apart.
Clean up your plants!
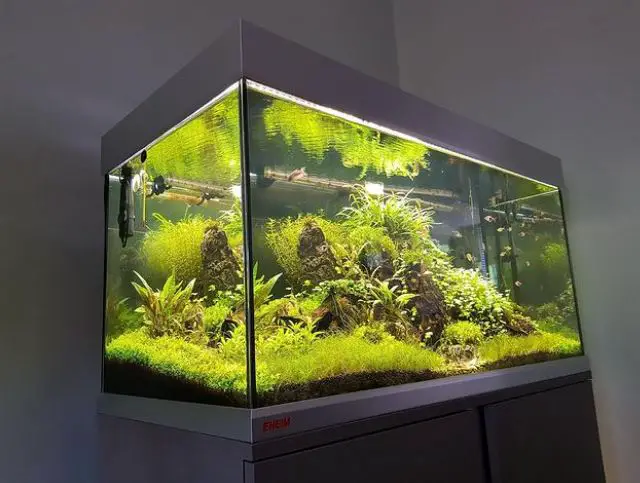
How to Turn a 10-gallon Tank Into a Vertical Terrarium?
I will provide a step-by-step tutorial for building a vertical terrarium. Keep in mind that you can use this knowledge to build a horizontal or even a cube terrarium as well. All the same principles apply.
1. Add an Intake and Exhaust Fan in the Back
I started with a 10-gallon tank from Amazon.
In order to turn it into a vertical tank, I needed to make some modifications.
The first thing I did was add an intake and exhaust fan in the back. I used a powerful combo (intake) and a less powerful one for exhaust.
Make sure you use fans with metal housing and not plastic! A cheap power supply is all you need to power them.
2. Get Some Light
The next thing to do is get some light.
You can use any light you want: CFL, LED, or even a T5HO tube. But make sure they are powerful enough to grow plants! Mine were cheap ones from Amazon.
For lighting, it’s important to have some sort of light hood so that the bulbs are covered. I took an old 10-gallon tank hood and cut it with a Dremel to fit into my desired height for this build.
I then put the light hood on top of the intake fan. Don’t forget to drill holes in it first!
3. Add 3/4-inch PVC Pipes as Support Beams
The next thing to do is to add 3/4-inch PVC pipes as support beams.
You can buy these from your local hardware store or simply cut some from an old PVC pipe you might have to lie around. I used about 5 of them.
As far as the pump goes, any submersible (external) pump will do, but make sure it has enough power. I recently had an old 120-gallon tank lying around, so I used the pump from it for the build, but any 2″ or smaller will do.
The next thing to do is add some mesh wire on top of the light hood and along the edges to prevent soil from falling into your tank.
For substrates, you can use anything from Hydroton to crushed lava rock. I personally prefer Hydroton, so that’s what I use for a majority of my setups.
Make sure you buy the right size! 12″ x 20″ = 8 cups. It holds quite a bit more than enough for a 10-gallon tank actually.
4. Get Some Soil and Perlite
The next thing is getting some soil and perlite (optional). Make sure the soil is enriched with nutrients like “super soil” or you will have to fertilize often.
5. Start Planting
Now, it’s time for planting!
Simply add a layer of mesh wire, then your substrate, then your plants, then finally some water. I normally put about 4 to 5 cups of water in to start with.
I prefer not to use any pots whatsoever.
This will ensure oxygen can easily travel to the bottom of your plant’s roots. Then take mesh wire and cover the entire substrate. You don’t want anything falling down there!
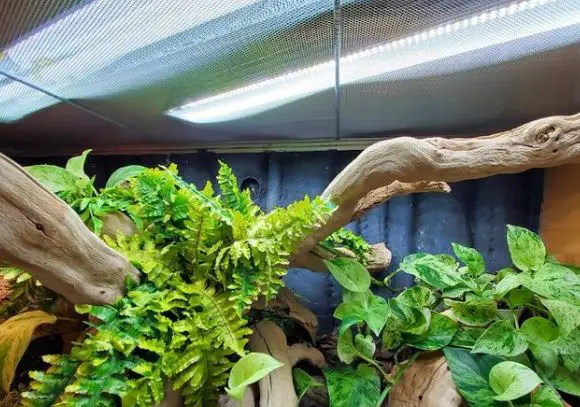
6. Add Fertilizers
The next thing you need to do is add fertilizers.
I use this one for soil. You can choose your own products. Just make sure they are trustworthy products with a solid reputation.
Now, it’s time for the fish, snails, and shrimp! Some of my fish fries were a little too small for this 10-gallon tank, but they will grow into it. So, if you don’t have any fish yet, I suggest getting some to start with.
Now, some important notes: Make sure you have a powerful enough pump for your size tank. A strong pump will ensure proper water circulation, oxygen transportation, and nutrient transportation.
I prefer external pumps over internal ones because external pumps are WAY easier to maintain and clean.
Make sure you have a light hood. You can cut a normal 10-gallon tank lid for this, or better yet, buy a pre-made one from your local hardware store. It’s super cheap and saves you a lot of work!
Conclusion
So, how to turn an aquarium into a reptile terrarium?
This blog post is a great example of how you can turn an aquarium into a reptile terrarium. We have included some helpful tips to make the process easier for you!
It is not difficult at all when following these steps, but there are many different ways in which this project could be done.
The best thing about it is that your pet will have plenty of room to move around and explore their new environment. Plus, if they’re feeling too hot or cold, they will have easy access to water from either end!
If you’re looking for something unique for your home, then look no further than our step-by-step guide on creating a reptile terrarium out of an aquarium.
Key points to take away when considering turning an aquarium into a reptile terrarium:
Repurposing an aquarium into a reptile terrarium is a cost-effective way to create a suitable environment for your pet. Here’s a guide with key points to help you convert your aquarium effectively:
1. Choose the Right Reptile:
- Research First: Select a reptile species that is suitable for the size of your aquarium and your experience level.
2. Prepare the Equipment:
- Heating and Lighting: Ensure your reptile’s lighting and heating requirements are met. Install a heat source, UVB lighting, and a timer.
3. Remove the Water:
- Drain the Aquarium: Carefully remove any water and clean the tank thoroughly.
4. Remove Substrate:
- Change Substrate: Replace any aquarium gravel or decorative substrate with a reptile-friendly substrate such as coconut coir, cypress mulch, or reptile carpet.
5. Create Hiding Spots:
- Add Hides: Place hiding spots like rocks, logs, or commercial reptile hides in the terrarium. These provide security and shelter for your reptile.
6. Install Thermometers and Hygrometers:
- Monitoring Tools: Place thermometers and hygrometers in the terrarium to ensure proper temperature and humidity levels.
7. Optimize Humidity:
- Misting: Maintain humidity by misting the enclosure regularly. Use a hygrometer to monitor and adjust humidity levels as needed.
8. Create Climbing Opportunities:
- Climbing Accessories: Depending on your reptile’s needs, include climbing accessories like branches, vines, or rocks to encourage exercise and natural behaviors.
9. Provide a Water Dish:
- Hydration: Offer a shallow water dish for your reptile to drink from and soak in. Ensure it’s cleaned and filled regularly.
10. Secure the Lid:
- Escape Prevention: Reptiles can be escape artists, so ensure the enclosure has a secure lid to prevent accidental escapes.
11. Customize Lighting:
- Lighting Setup: Install appropriate lighting based on your reptile’s UVB and heat requirements. Ensure you use timers to regulate day and night cycles.
12. Arrange Decorations:
- Natural Aesthetics: Decorate the terrarium with plants, rocks, and other natural-looking elements to create an appealing and enriching environment.
13. Select a Reptile Thermometer:
- Thermometer Placement: Place thermometers at different levels of the terrarium to monitor temperature variations.
14. Monitor Temperature and Humidity:
- Regular Checking: Continuously monitor temperature and humidity levels in the terrarium and make necessary adjustments to maintain an optimal environment.
15. Acclimation Period:
- Gradual Transition: Allow your reptile to acclimate to its new environment by introducing it gradually. Ensure your reptile is comfortable before full-time occupancy.
16. Consult Experts:
- Reptile Specialists: Seek advice from reptile specialists or herpetologists if you’re unsure about specific care requirements for your reptile.
17. Consistent Care:
- Regular Maintenance: Keep the terrarium clean and perform regular maintenance tasks such as substrate changes, feeding, and providing fresh water.
18. Veterinary Care:
- Regular Checkups: Schedule regular veterinary checkups for your reptile to ensure its overall health and well-being.
Converting an aquarium into a reptile terrarium is a rewarding project that allows you to create a comfortable and enriching habitat for your pet. By following these steps and ensuring your reptile’s specific needs are met, you can provide a safe and suitable environment for your new reptilian companion. Remember that reptile care is a long-term commitment, and consistent care and maintenance are essential for your pet’s well-being.
Further Reading:
- 7 Best Lighting for Chameleons
- 9 Best Heat Lamps for Bearded Dragon
- 5 Best Bearded Dragon Lighting Setups
- Best UVB Bulbs for Sulcata Tortoise
- Bearded Dragon Safe Plants You Must Know

