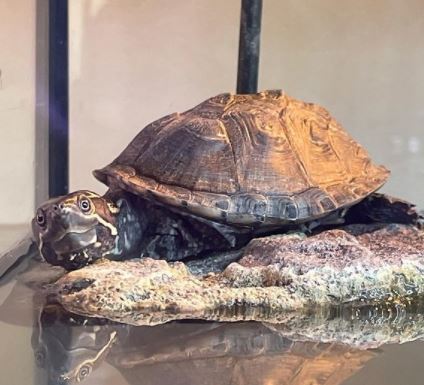
How to clean river rocks for turtle tanks?
Turtles are some of the most delightful pets to own. With their cute shells and fun personalities, many people love them as a part of their family. But like any animal, turtles need proper care and attention in order to thrive.
One way you can help your turtle is by cleaning out its tank regularly with river rocks, which will remove the dirt and debris that accumulates over time.
This blog post will cover how to clean river rocks for turtle tanks including what type of rock is best for cleaning, how often they should be done, and what other supplies one needs in order to do it right!
Read on if you want your turtle’s tank looking its best at all times!
Related Posts:
- Top 5 Turtle Substrate for Your Pet Tank
- How to Make UV Light for Turtles?
- Do Turtles Need Light 24 Hours a Day?
- Can Turtles Live in a Fish Tank Filled With Water?
- Can Turtles Eat Spider Plants?
How to Clean River Rocks for Turtle Tanks?
How to clean river rocks for turtle tanks?
Use a cloth to clean the dirt off the rock. Put it in cold water and put it on the stove to make it hot. Let it cook for about 10 minutes, then take it off of the stove and let it cool down naturally.
How to Clean River Rocks for Turtle Tanks With Baking Soda?
How to clean river rocks for turtle tanks with baking soda?
Cleaning rocks is a very tedious task. If you have enough, I mean a lot of them, it can be a real pain. Whether they are big ones or small ones doesn’t matter. They all need to be cleaned before being used in your turtle tank.
The reason why is that since most rocks are taken from the wild, they usually contain bacteria and parasites that will spread throughout your tank if not properly disinfected before use.
Some species of turtles commonly kept as pets (such as red-eared sliders) typically require a wide variety of surfaces within their aquatic habitat in order to prevent painful sores on their shell, mostly from a lack of basking opportunities.
Rocks, therefore, are a big part of that equation and can come in all different shapes and sizes.
Large rocks allow for basking spots while small ones help create aeration within the substrate, both important factors to consider when stocking your turtle tank.
Baking soda is an inexpensive product that almost every home has lying around somewhere, usually under the kitchen sink or in their pantry.
Its primary use is cooking and baking purposes but this white crystalline substance has many other uses, which we will discuss today.
Note that baking soda should only be used on inert items such as rocks and decorations because if it comes into contact with organic material (live plants), the baking soda could cause them to wither and die.
Now, collect your rocks from a local stream, pond, or wherever you can find them as long as they are not painted or treated in any way. You don’t want those types of rocks around your pets.
If the rocks have been sitting outside for a while, chances are that they might be covered with moss, algae, and other growths, which you will need to remove using an old toothbrush (or one you don’t care about) and some regular dish soap (such as Dawn).
This is also helpful if you’re planning on painting your rocks later on after disinfecting them because they won’t be trapped under all of that stuff.
Here is how to clean river rocks for turtle tanks with baking soda:
1. Take your rocks into the shower with you and use the running water to rinse off all of that moss, muck, and dirt from them. The toothbrush will also help with this step.
2. Next, you need to prepare your rocks for baking by making a large oven out of aluminum foil on a cookie sheet.
Don’t make it too thick, though, because air needs to circulate within the rocks while they are being disinfected in order for them to dry out after they have been cleaned.
If the oven is too thick, no air will get through and you’ll end up with wet rocks, which means bacteria could still be alive inside them when you put them into your turtle tank. Air circulation is key here, so don’t forget about it!
3. Preheat your oven to 350 degrees Fahrenheit.
4. While you are waiting for your oven to heat up, prepare a large bucket of clean water that is hot enough for you to stick your hand in without burning yourself (104-110 degrees Fahrenheit).
This will be used later on when rinsing the rocks after they have been baked and disinfected.
5. Once your oven has reached its proper temperature, pour about 2 cups of baking soda into a small bowl and then begin placing the rocks into the bowl adding approximately 1/4 cup of baking soda between each rock as you place them down.
The rocks should be placed close together but not touching one another. Doing so would cause there to be no room for air circulation needed during this next step.
6. Once all of the rocks have been placed inside your oven on top of the aluminum foil, close up the oven and let them bake for 30 minutes to disinfect them.
7. Every 10 minutes or so, open up your oven and using a pair of tongs grab an individual rock from within the oven and then toss it into the bucket of hot water that you prepared earlier until they are all removed from the oven and sitting in that water, which should still be hot.
This will rinse off any remaining baking soda on their surface ensuring that no harmful chemicals will be left behind once they are introduced to your turtle tank’s waters where your pets can come in contact with them directly.
8. Preparing your substrate. A common mistake that many people make when adding rocks to their turtle tanks is that instead of using them as a substrate, they end up using them as decoration pieces.
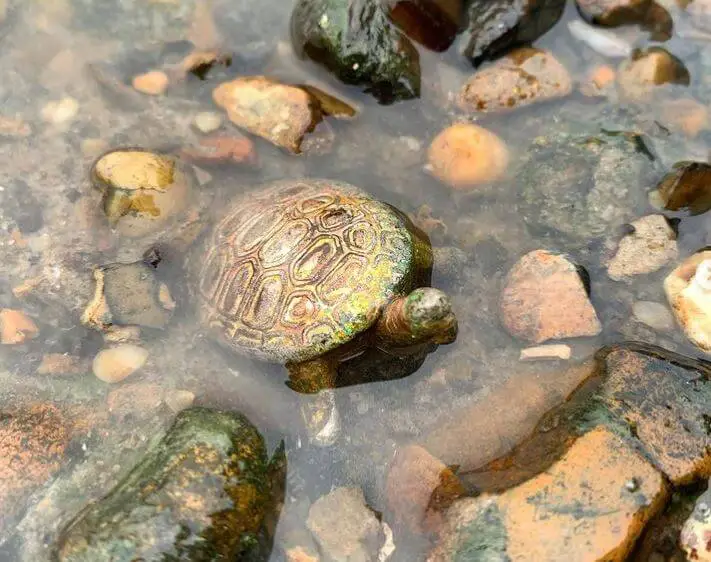
There are many different types of substrate to choose from these days, which are also very useful when being used in turtle tanks to keep them clean and healthy.
9. Set up your tank’s lighting system before putting rocks into it because there isn’t much room to work around the rocks once they’re inside.
It’s generally recommended that you use full-spectrum UV light bulbs over turtle tanks containing live plants because they are more efficient in generating needed heat for your water’s ecosystem.
10. Put the rocks into your turtle tank. Here is where you’ll need to be very careful so that you don’t crack or break them when putting them inside of it.
Turtles are very playful creatures and will most likely be rolling around on top of their substrate, so chances are pretty good that they will get rolled right over onto the top of the rocks causing them to possibly chip, break, crack, or shatter if not properly handled.
The best way to prevent that from happening is by putting large, sturdy turtles into larger-sized tanks with plenty of room for swimming instead of smaller ones, which might put unnecessary stress on the substrate, causing it to fail under their weight.
11. Put as many of your live plants as you can into the water as well because they’ll provide additional surfaces for turtles to eat from and help keep the tank’s water clean at the same time.
Some good ones to use include Anacharis, Cabomba, Duckweed, Elodea, Hornwort, and Water Wisteria.
A few types of rocks to avoid putting inside of your turtle tank include:
- Limestone rock (which should be avoided due to its inability to perform certain functions such as neutralizing toxins and helping with water hardness levels)
- Sandstone rock (which should be avoided simply because it breaks apart easily and causes your turtle tank’s water to become very cloudy when there are even the smallest of particles released into it)
- Marble rock (which is too soft and porous for safe use in a turtle habitat)
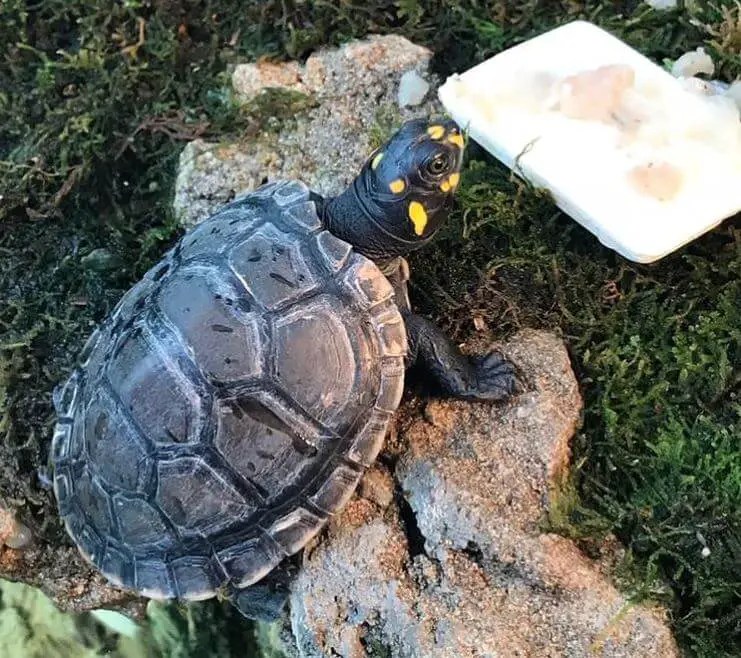
Can I Use Rocks From Outside in My Turtle Tank?
A large number of people have rocks on their property that they think can be used to build a turtle tank.
These are commonly called river rocks or lava rocks. The problem is many of these types of rocks are very porous, which means they will dissolve over time in the water, which has some potentially serious consequences for turtle health.
So what should you look for if you want to use rocks from outside?
The best thing to do is find an old piece of concrete or flagstone that hasn’t had anything spilled on it for several years and see what you’ve got.
If after several months there are no major problems with your turtle’s health, then go ahead and use it in your tank.
Here are the most important things to look out for:
1. Make Sure It Is Really a Rock
There are lots of stuff out there that look like rocks but aren’t good for aquarium use.
Things like limestone and marble may be pretty and look like rocks but they will dissolve in water if used as an aquarium substrate. A good test for this is to take a piece and leave it outside on the ground through several rain/snow cycles (or several months).
If you see any signs of dissolution, then don’t use it!
If this is a piece of concrete or flagstone that has been sitting outside for several years without any signs of dissolution by acid rain or soil, then it should be safe to use in your turtle tank.
Another good test is just to look very closely at the rock and see if you can see even tiny pores on the surface. If so, don’t use it!
2. Choose Rocks That Are Non-porous
Be very careful about using river rock-type rocks in your turtle tank!
They are often extremely porous, which means they can dissolve into your water under certain conditions speeding up the growth of algae and also making it harder to maintain clean water quality.
They may also contain other harmful minerals like heavy metals or salt buildups from the asphalt which can also be very dangerous for turtles.
If you see little tiny holes (pores) in your rock, it’s probably going to dissolve away in the water. Don’t risk it!
I think we can all agree that these are just a few of the things you should be looking for when it comes to picking rocks to put into your aquarium. I’m sure that as time goes on, we’ll learn even more about what types of rocks can/cannot be used safely!
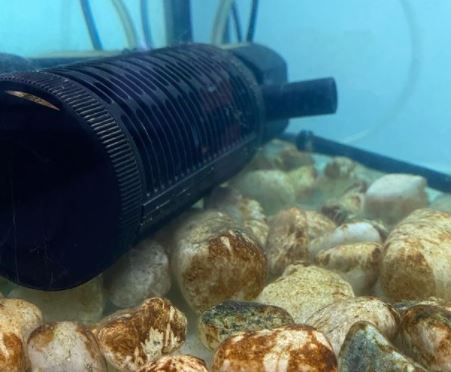
3. Use Rocks Larger Than the Turtle
The safest thing to do is avoid using rocks that are smaller than the widest part of the turtle’s shell (carapace).
Here are some examples of commonly available types of rock and whether or not they should be used in a turtle tank:
- Slate – OK to use as long as it is at least an inch thick. Mine is thinner and I’ve noticed some staining on my driftwood from the black coloring coming off, so I don’t recommend this type of rock since mine isn’t even porous! However, slate can be found that is several inches thick and won’t stain anything it comes into contact with.
- Limestone/marble/granite – Do not use it! All three of these will dissolve in water under certain conditions, so don’t even take the chance.
- Flagstone – OK as long as it is at least an inch thick and several years old without any signs of corrosion or dissolution by acid rain or soil that contains acid.
- Slate tile – If it is made from slate, it should be avoided just like limestone and marble since all three kinds of rocks are soluble.
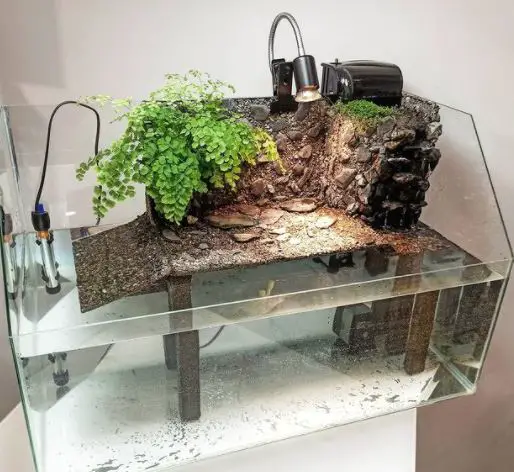
Conclusion
To summarize, when cleaning river rocks for turtle tanks it is important to make sure the water in your tank stays clean and free of dangerous bacteria. You can do this by using a de-chlorinator such as Aqua One or Prime with every change of water.
Make sure you also rinse off any dirt before adding them to the tank so that they don’t introduce new harmful microorganisms into your environment!
And always use gloves when handling these natural materials because their skin contains oils and salts, which could harm turtles if ingested.
Finally, remember that not all stones are safe for turtles. Some will contain sharp edges or be too rough on sensitive feet, so look out for those dangers, too!
Key points on how to clean river rocks for turtle tanks:
River rocks can serve as an excellent substrate in turtle tanks, providing a natural and aesthetically pleasing environment. However, before adding them to your turtle’s habitat, it’s crucial to clean and prepare them to ensure a safe and healthy living space. Here are the steps to clean river rocks for turtle tanks:
1. Gather Supplies:
- Before you begin, gather the necessary supplies, including a large bucket or container, a hose, a scrub brush, and a bleach solution (1 part bleach to 9 parts water).
2. Inspect the Rocks:
- Examine the river rocks to check for any debris, dirt, or organic matter that may be on the surface.
- Remove any obvious contaminants, such as leaves or twigs, by hand.
3. Rinse with Water:
- Place the river rocks in the bucket or container and thoroughly rinse them with a hose or under a faucet.
- This initial rinse helps remove loose dirt and debris.
4. Soak in Bleach Solution:
- Fill the container with the bleach solution, ensuring that the river rocks are fully submerged.
- Allow the rocks to soak for at least 24 hours. This step helps sterilize the rocks and eliminate any potential pathogens or harmful bacteria.
5. Scrub and Rinse Again:
- After soaking, use a scrub brush to clean the river rocks while they are still submerged in the bleach solution.
- Scrub away any remaining dirt, algae, or residues.
6. Thorough Rinse and Soak:
- Drain the bleach solution, and rinse the river rocks thoroughly with clean water to remove any bleach residue.
- Let the rocks soak in clean water for an additional 24 hours to ensure they are free from bleach and safe for your turtle.
7. Sterilize and Disinfect:
- You can further disinfect the river rocks by placing them in boiling water for several minutes.
- This step helps kill any remaining microorganisms and ensures the rocks are sterile.
8. Air-Dry and Inspect:
- Allow the river rocks to air-dry completely in the sun or a well-ventilated area.
- While drying, inspect them to confirm they are clean, odor-free, and free from any contaminants.
9. Arrange in the Tank:
- Once the river rocks are dry and clean, arrange them in your turtle’s tank to create a suitable basking and swimming area.
10. Regular Maintenance: – Periodically remove the river rocks from the tank and clean them to prevent the buildup of waste and algae. – Routine maintenance ensures a healthy and hygienic environment for your turtle.
11. Safe Substrate for Turtles: – River rocks are an ideal substrate for turtle tanks, as they are easy to clean and do not pose the ingestion risk associated with loose gravel or small stones.
In summary, cleaning river rocks for turtle tanks involves a thorough process of soaking, scrubbing, and disinfecting to create a safe and healthy environment for your pet. Regular maintenance of the rocks and their placement in the tank can help maintain water quality and provide an aesthetically pleasing habitat for your turtle. Properly cleaned river rocks not only enhance your turtle’s tank but also contribute to its overall well-being.
Further Reading:
- 7 Best Plants for Turtle Tank
- 5 Best Turtle Basking Platforms
- Can I Use a Fish Water Conditioner for Turtles?
- Can You Put Fake Plants in a Turtle Tank?
- Can I Keep My Turtle Tank Outside?

